Water Testing & Monitoring
Making sure your steam boiler system runs efficiently and has a long life-span boils down to one thing – treating your water right. In many facilities, steam is used throughout the production journey and its quality can affect many processes. Knowing your water quality through frequent testing will guide your team on the path to safe, clean steam. In this article, we can show you how to take samples for water testing and keep your system safe.
The advantages of proper water treatment cannot be overstated. Not only does it extend the operational lifespan of the steam boiler system, but it also mitigates the need for costly repairs that can lead to prolonged downtime. Implementing a comprehensive water testing strategy can reduce alarms and avoid damage to your boiler. Testing options include manual sampling conducted on-site which allows for immediate assessment of water quality. With a follow-up comprehensive evaluation of professional testing of samples conducted at Miura’s water lab. Or you can implement technological solutions to perform automatic water testing, keep digital water logs, and use real-time alerts. Keeping your team aware of possible issues on the horizon.
Read on to learn about the different tools and testing methods available for you from Miura. Ready to get testing? Get tips on how to take samples for water testing below.
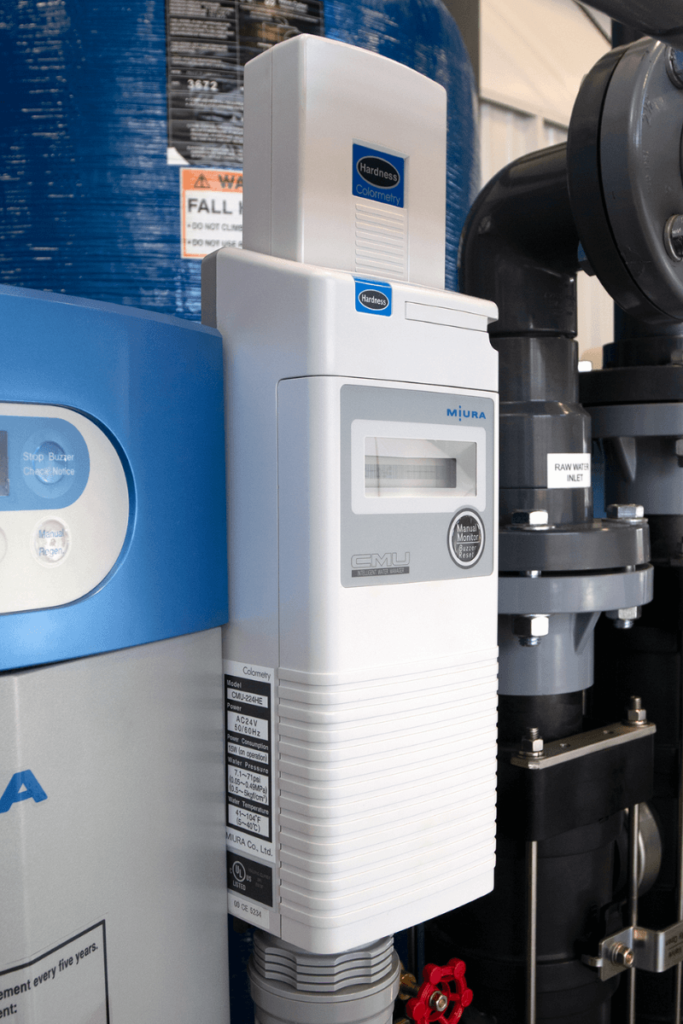
Miura’s Colormetry Unit (CMU-324HE) is a hardness detection device that utilizes colorimetric analysis to monitor ionic concentration in pre-treated soft water. It periodically samples your facility’s softened water and performs colorimetric analysis to determine hardness concentration. When an alarm or caution is signaled, the Colormetry unit displays the alarm fault codes that assist the operator in resolving the problem and sends fault code information to your monitoring system. Up to five previous cautions or alarms are stored on-site for operator reference.
Get a glimpse into your Colormetry unit remotely with Miura Connect.
Conduct remote boiler monitoring in real-time using the latest IoT technology. Boiler operators, facility management, Miura representatives and technicians can quickly and easily access boiler room data from anywhere the Internet is available to stay informed about your system.

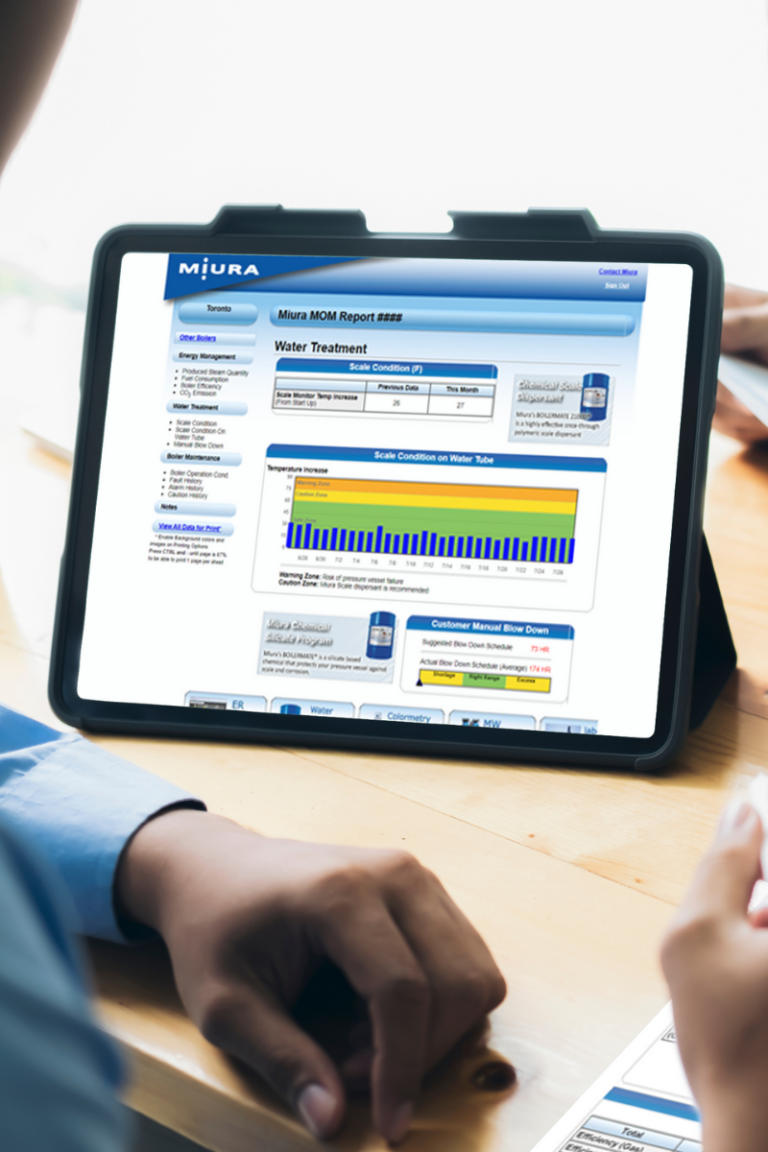
With the MOM System Miura experts keep an eye on your system for you.
The Miura Online Maintenance (MOM) system monitors your boiler operating conditions for easy troubleshooting should any problem arise. The Colormetry unit sends error codes from your boiler room to the MOM Centre located in our Brantford facility where Miura technicians will advise you on the appropriate solutions.
In select regions, Miura Canada has Water Treatment Specialists on staff who make monthly site visits to our Water Treatment Program members. There, they take water samples, make adjustments to the water treatment chemicals on site, and give advice for further water treatment actions. Specialists take a complete set of water samples for in-depth testing at our lab and perform simple tests on hot water samples on-site for in situ chemical analysis.
If you want Miura’s Water Treatment Specialists to come to your facility to do a preliminary water analysis and present you with a quote, request one HERE.

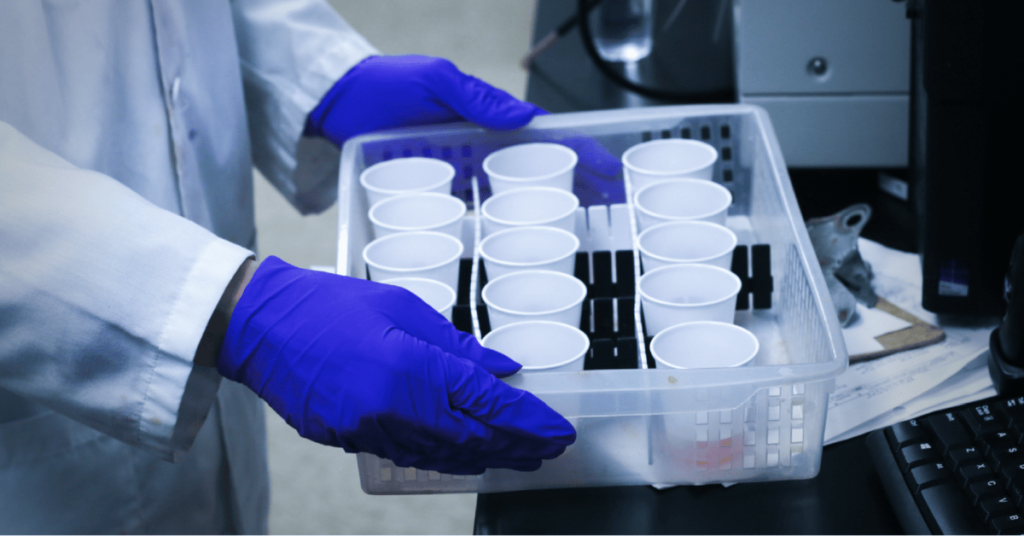
Miura's In-House Testing Lab
Miura Canada’s Water Treatment Lab is located at our Mississauga office and performs complete and accurate water quality testing. Our water lab has the latest equipment and adheres to a stringent quality control protocol developed by Miura Japan. All water samples from boilers, cooling towers, and closed-loop systems are tested for a range of possible issues. Chemical levels, particulates, softener levels, bacteria, and more are all tested. Specialty testing of metals including aluminum, zinc, copper, and other inorganic ions, is also available upon request.
In addition to testing samples taken by our Water Treatment Specialists, we offer cross-Canada water testing services by mail. We provide the bottles and instructions for you to collect water samples and mail them to our lab for expert analysis. For our suggested method for water sample collection, see below.
How to Take Your Own Water Samples
Ready to get some water samples and find out all about your water quality? If you are drawing your water samples, either to send to the Miura Lab or for other testing, here is our suggested procedure:
Equipment Needed
- Sample Bottles
- Lables (Pre-printed or hand written)
- Pitcher or other large container
- Channel-lock pliers
5 Water Sources to Test
City Water – This is the tap water that comes out of your sink or faucet. It should be tested if it is the same water that will be fed into your boiler.
Make-Up Water – This is water from equipment that takes care of pre-treatment for your boiler, most notably reverse osmosis systems and water softeners.
Feed Water – This is water that’s collected from either your boiler’s piping or feed water tank. Just keep in mind that the bottom of your tank may accumulate sludge or other sediments at the bottom. This makes the piping the better option for a water sample if it’s available.
Boiler Water – This is the water straight from your boiler. The sampling port on your Miura boiler is at the surface blow-down valve. The location of this valve is different on different models of boilers, so consult your manual if you have trouble finding it.
Condensate Water – This water can be found by following the piping that leads into your boiler room.
CAUTION:
- Remember that boiler, feed, and condensate water will all be pressurized and taken at high temperatures. Be sure to exercise caution when taking them.
- Never collect water samples while your feed water pump is on; always turn it off before taking samples.
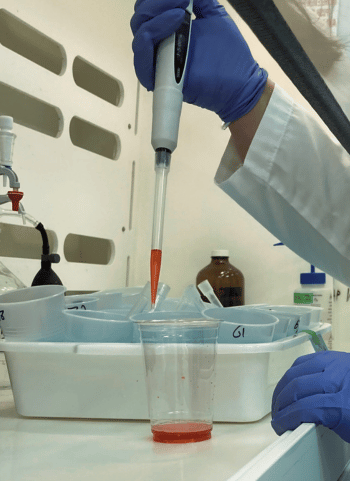
Gathering Your Samples
- Place your container under the sample port and open the valve. If you have trouble reaching the valve, this is why you have pliers on hand.
- Let the water run for 5 seconds to clear out the piping before filling and rinsing your large pitcher three times.
- Fill your sampling bottles from the larger vessel. Be sure to always fill them to the top so there is no air inside them, as this can interfere with the testing.
- Once the bottle is full, attach the appropriate label to the bottle, always double-checking that the bottle and the label match.
- Before shipping the samples to the designated water lab, tighten the tops of each bottle and ensure there is room in the box to avoid damage during shipping.
- Then you’ll be ready to ship your water samples and wait for the results.
* Check with your testing service or laboratory for best practices. This is a guideline only.